Thank you so much for trusting me and for choosing and purchasing this Elementor template kit as the basis for creating your website. Providing my customers with the best service has always been my first priority. So if you have any questions after reading this file, feel free to contact me.
Please follow the instructions given in this installation guide when installing this Elementor Kit on your website.
Please make sure the version of the PHP engine on your site is 7.3 or newer.
Please keep it mind that you can meet such issues while installing or setting up your template kit: white screen, demo content fails when importing, and other similar issues. The matter is they are all related to low PHP configuration limits. The solution is to increase the PHP limits. You can do this on your own, or contact your web host and ask them to increase those limits to a minimum as follows:
To verify your current PHP configuration you can install WordPress PHP Info plugin. Also, you can contact your hosting provider.
Theme and plugins installation
Theme installation
The Template Kit you use is optimized for use with the free Hello Elementor theme, and this theme is highly recommended.
Go to WP Dashboard > Appearance > Theme > Add New, and then search for “Hello Elementor”, you should see the result of this theme. Install and activate the Hello Elementor theme to your WordPress website.
Plugins installation
Go to WP Dashboard > Plugins > Add New. Then search for plugins from the list below, click install then activate it.
Recommendation: To make working with WP pages easier and in accordance with the illustrations in this manual, it is recommended that you install and activate the Classic Editor plugin in addition to the above.
You will install the remaining required plugins during the installation of the Template Kit.
Elementor settings
To enable the Elementor Kit to work properly, you must associate basic elements (text, titles, and buttons) with the theme settings that are defined in the “Theme style” option in the Template Kit.
To do this, you need to do the following:
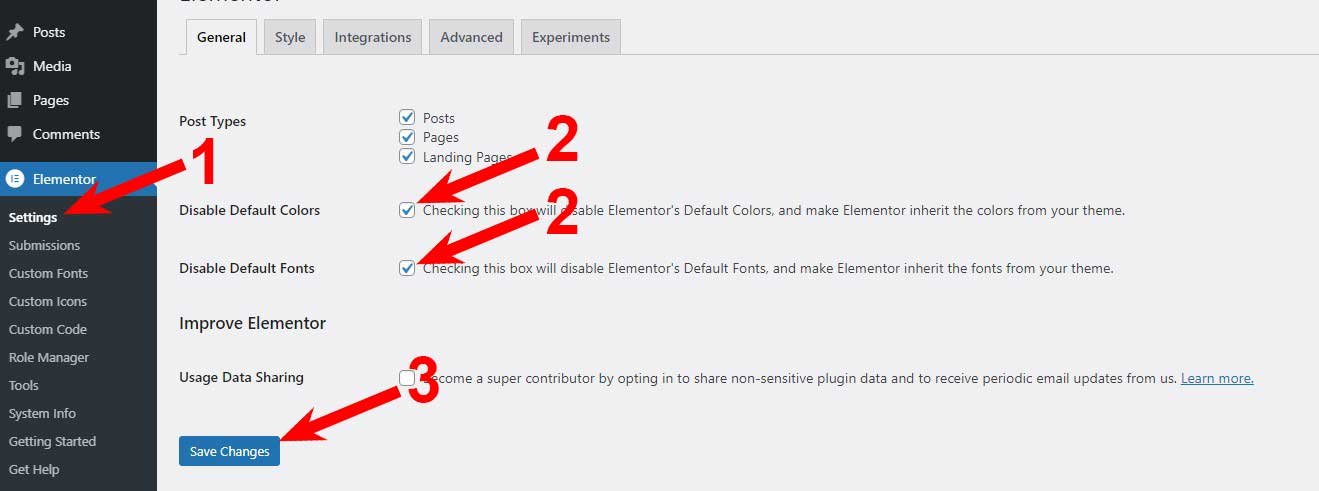
Activate the WP Dashboard > Elementor > Settings screen
Check the “Disable Default Colors” and “Disable Default Fonts” options (if they are not already checked)
Save the changes.
How to import Template Kit
This Template Kit is imported using the Template Kit – Import By Envato plugin, so it is necessary to install and activate this plugin before this step. After installation, the import option is located at WP Dashboard > Tools > Template Kit.
When installing the Template Kit, be sure to install all the plugins listed as required. The installation of the plugin will be done automatically without your additional intervention. At the same time, demo images will be installed this way.
Creating website pages
After you import the Elementor Template Kit, the imported templates will be located in the WP Dashboard > Templates > Saved Templates section of your site. In order for their content to be displayed as in a demo, it is necessary to import the desired templates from the collection to the pages that need to be created beforehand.
1) Create a new page: WP Dashboard > Pages > Add New template you want to activate from the kit.
2) Enter a title for the new page as desired, select “Elementor Full Width” as the page template type and then click on the blue “Edit with Elementor” button
3) Elementor editor page will open. Click on the “Add Template” icon (you will recognize the icon by the gray background)
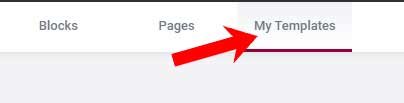
4) A pop-up window with templates will open. Select “My Templates” at the top of that window
5) Select from the list the desired template you want to import to that page. You will recognize the template by its name, and it should have a “Page” type. Click on “Insert”
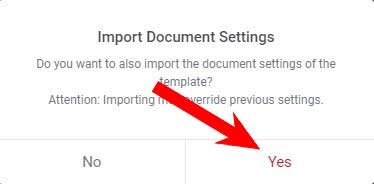
6) Confirm that you want Import document settings.
7) This way, you have imported the desired template into the page. Now you need to save the changes you have made. To do this, click on the “Publish” button
Repeat this procedure (steps 1-7) for each page template you want to activate from the kit.
From the Template kit, import a page template called Home page into that page.
Now you need to set up the page created in this way to be the Home page of your website. To do this, go to WP Dashboard > Settings > Reading. For the “Your homepage displays” field, select the “A static page” option and then select the page you intended for this purpose.
Finally, click “Save changes”.
How to re-create Home Page slider
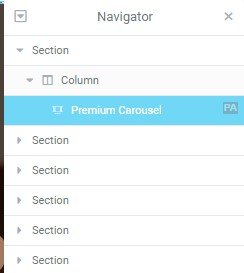
The slider at the top of the Home page of the Urban Law template kit is realized using the Premium Carousel widget (part of the free version of the Premium Addons for Elementor plugin).
This widget is organized so that each of the slides shown is a separate template. Therefore, they need to be activated:
1) In the Home page template, select the Premium Carousel Widget where it appears.
2) In the Content section, in the Templates list, click on the “+ Add Item” button to add all, or only those slides you want to display. You add slides, ie pre-prepared templates, one by one.
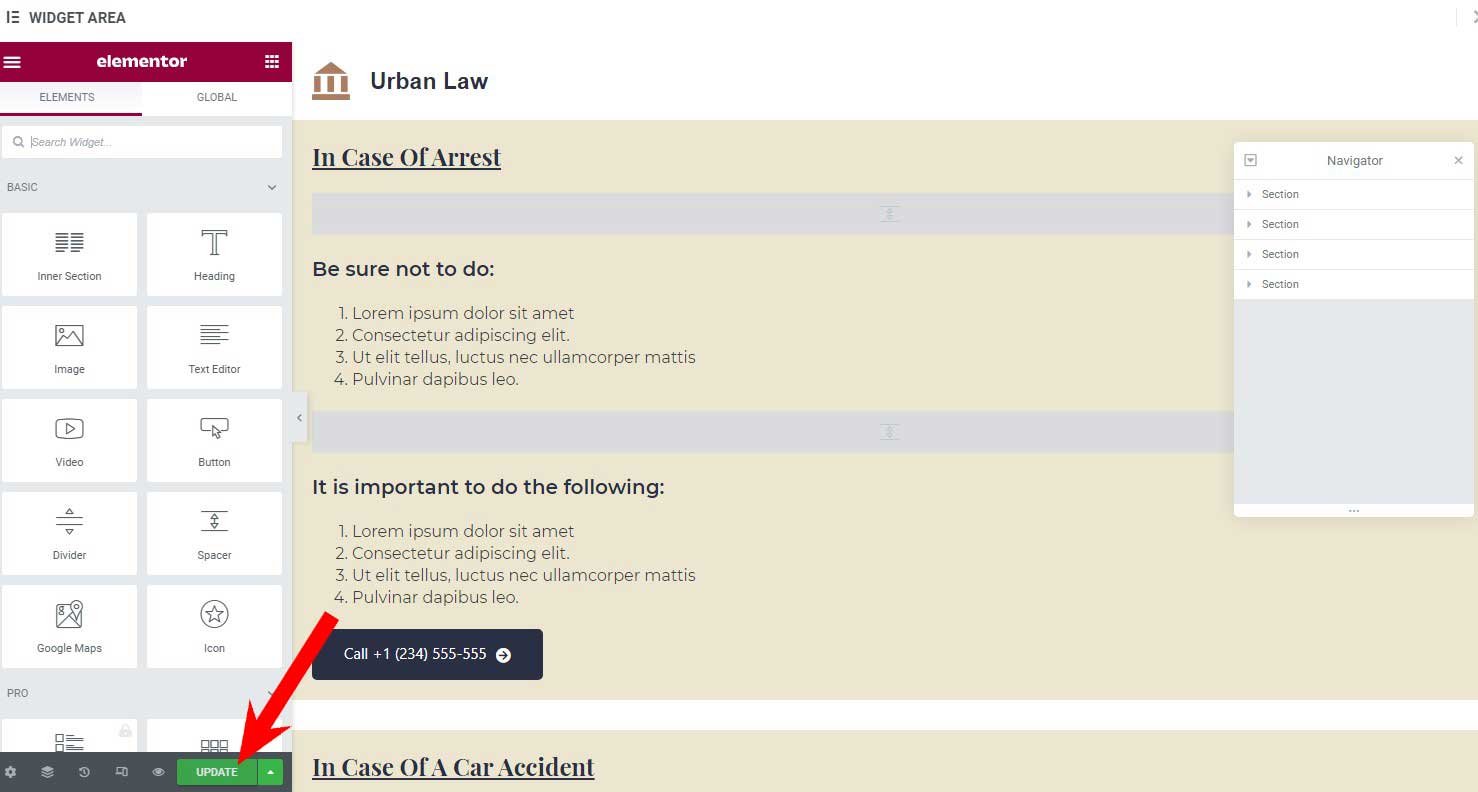
3) Click “Update” to save the changes made.
How to re-create Header and Footer
The Header and Footer in this template kit are realized using the ElementsKit Lite plugin.
(Important Note: In current versions of the ElementsKit Lite plugin (2.3.1 and later), this plugin automatically opens the Settings screen the first time you use it, similar to WooCommerce, for example. If this happens, the fastest way is to select the default settings offered and confirm them before continuing.)
Step-by-step instructions for activating these templates:
2) In the popup window, give a new name, select the type (header or footer) and set the “Activity” field to “On”. Then click the “Edit Content” button at the bottom of the popup.
3) When the Elementor editor opens, select the “Add template” option (in the gray circle).
4) From “My Templates” select the desired header or footer template and click “Insert”.
5) Confirm “Import Document Settings”.
6) When the template is loaded into a new form, click Element’s “Update” button.
7) Refresh the site preview. The header/footer will appear on the display.
Perform this procedure separately for the header and the footer.
Main Menu setup (in Elements Kit)
Within the header that is part of the Template Kit, the location for the main menu of the website is provided.
To have the main menu on your website, you need to do two things:
1) First you need to create your main menu, in the way that is common in WordPress. Enter WP Dashboard > Appearance > Menus, create a new menu, enter all the necessary links (pages, etc.), give it an adequate menu name, and save it.
2) You need to link the header, which you have previously created, to that menu. This is done as follows:
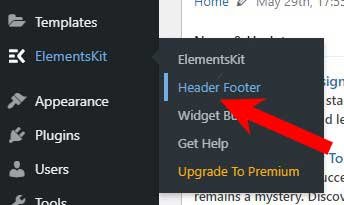
2a) Enter WP Dashboard> ElementsKit> Header Footer
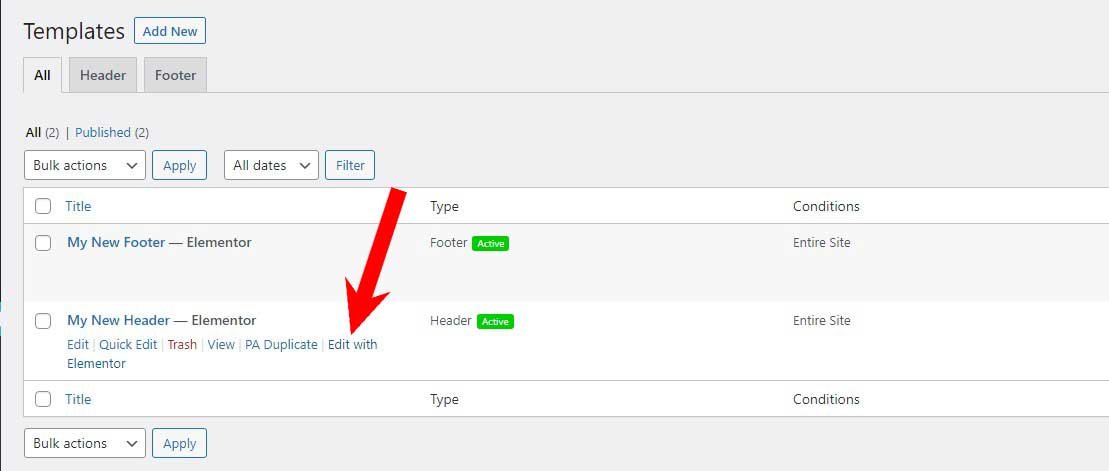
2b) Select the header that is active on the site and click on “Edit with Elementor”
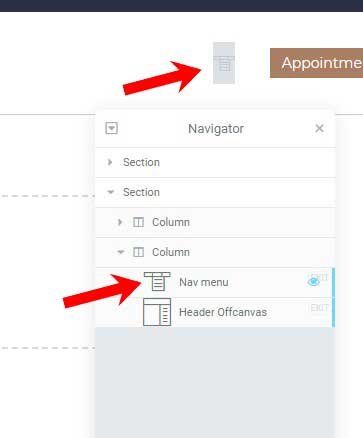
2c) When the Elementor editor is loaded, locate the Nav menu widget and activate it for editing
2d) On the sidebar, select Content> Menu settings> Select menu and choose the menu you want to activate. Then save the complete header by clicking the “Update” button in the lower-left corner of the screen.
How to re-create MetForm forms
In order for the users of this template kit to get as professional forms as possible for their site, a free but very powerful version of the MetForm plugin was used to create the forms. For this reason, in order for these templates to be properly implemented on the site, it is necessary to follow a special procedure, separately for each of the forms that appear on the site.
Step-by-step instructions on how to import MetForm from the Template kit:
1) First you need to create a new MetForm, give it a name and import the appropriate template that you got in the Template Kit:
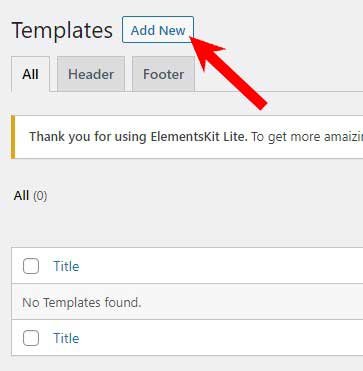
1a) Select WP Dashboard > MetForm > Forms > Add New
1b) Name your new form (for example, “My New Form”, or “Contact Form”, or “Appointment Form” – each form you recreate must have a separate title), then scroll to the bottom of the pop-up window and select the “Edit content” option at the bottom of the pop-up window.
1c) When the Elementor editor opens, select the “Add template” option (in the gray circle)
1d) From “My Templates” select the desired MetForm template and click “Insert”
1e) Confirm “Import Document Settings”
1f) When the template is loaded into a new form, click Element’s “Update” button
2) In the page where the form appears, activate the form:
2a) Open the page where the form should be, which you have already created (or create a new page and fill it in the usual way with the appropriate template section or page)
2b) Find and activate the “MetForm” widget
2c) On the sidebar, click Edit MetForm > Content > Edit Form
2d) A pop-up window will appear; select Select Form > (the title you created earlier in step 1b) > Edit Form
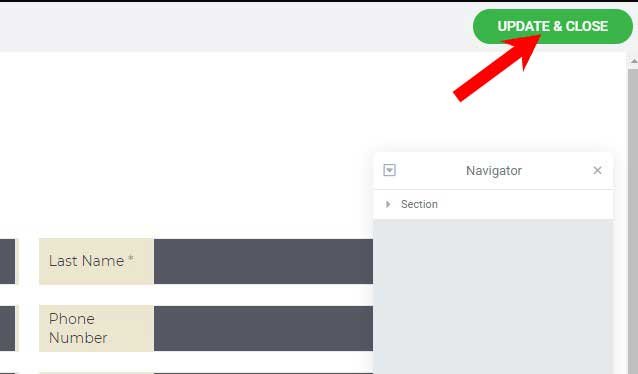
2e) When the form is loaded, click on the green button in the upper right corner “Update And Close”
2f) The pop-up window will close. After that, click on “Update” to save the whole page.
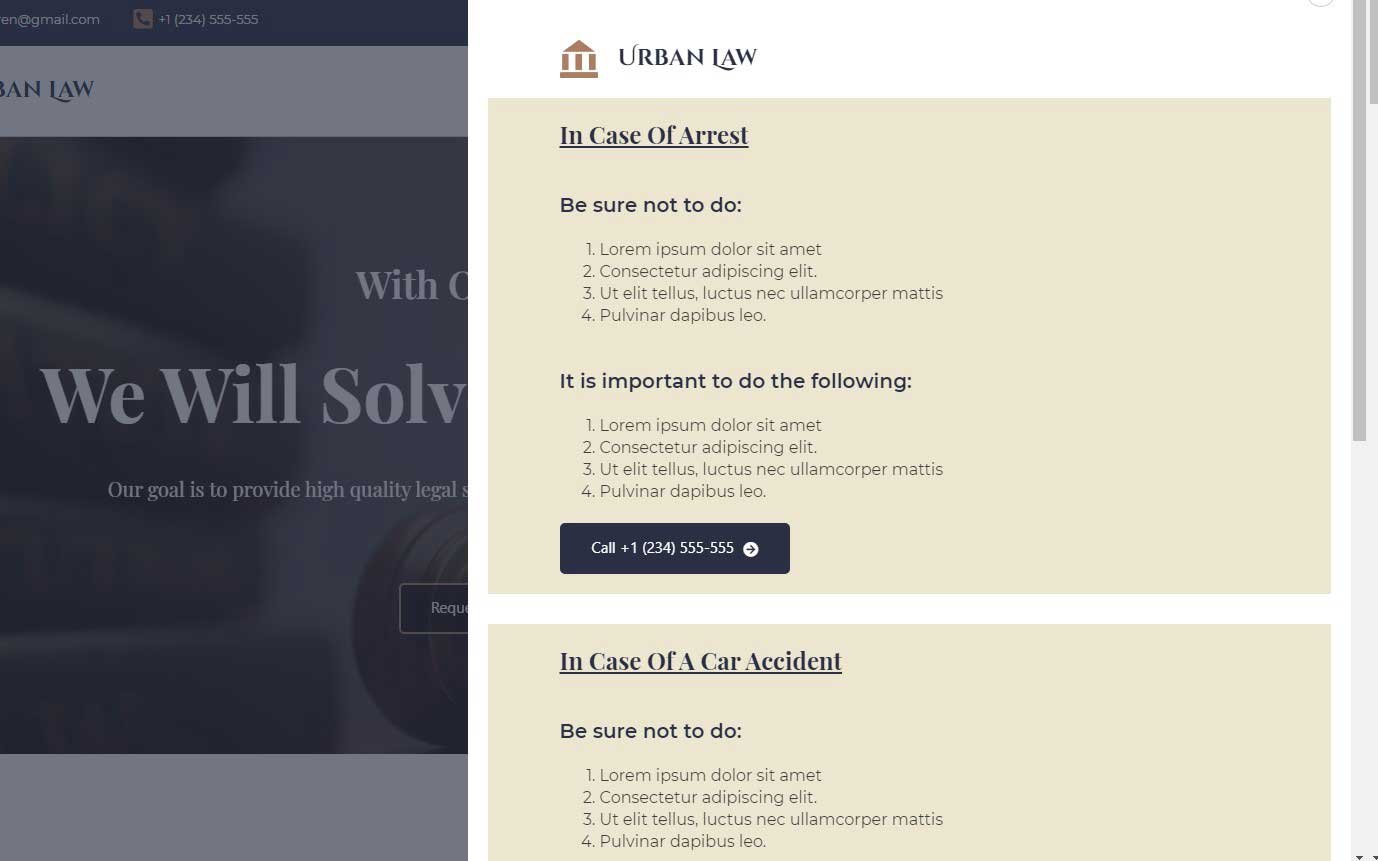
How to re-create off canvas side content
Off-screen content is content that is displayed as a side pop-up that is activated by clicking a button. It is one of the features that sets this Template Kit apart from similar ones and makes it unique. For example, such content is in the Urban Law template set, which is obtained by clicking on the “In An Emergency” button on the right side of the header.
1) To recreate this content, you first need to enter the Elementor edit screen for the page from which the Off canvas content is activated – in this case, the active header. Then, you need to click on button which activates the Off canvas content (note: not click the pen icon for button editing – just click ON button)
2) An empty side pop-up window will open. Click on the pen icon to edit the content.
3) Elementor editor page will open. Click on the “Add Template” icon (you will recognize the icon by the gray background).
4) A pop-up window with templates will open. Select “My Templates” at the top of that window. Then, select from the list the desired template you want to import. You will recognize the template by its name. Click on “Insert”.
5) Confirm that you want Import document settings.
6) This way, you have imported the desired template into the Off-canvas. Now you need to save the changes you have made. To do this, click on the “Update” button.
7) When done, return by clicking the “X” button in the upper right corner back to the primary Elementor editor. It is necessary to confirm the changes you have made in the header, by clicking on the “Update” button.
Colors adjustment
The template kit you purchased uses an advanced centralized color adjustment method. This means that you can quickly and easily, with a few clicks, change the color of all occurrences of the same type in templates and in pages based on them.
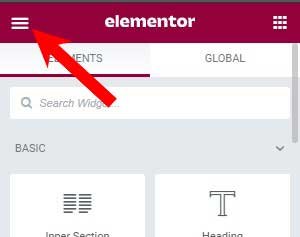
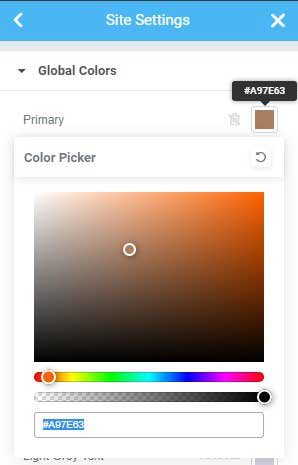
You can do this directly from the Elementor editor. First, click on the burger menu in the upper left corner of the editor. This will open new control bar content, from which you need to select “Site Settings”. Then, you need to select the “Global colors” option.
A list of all global colors from the temple kit will be displayed. You can change each of them by clicking on it, and then using Color Picker.
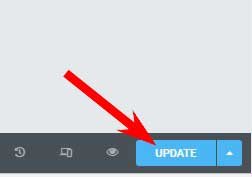
Finally, don’t forget to save the changes by clicking the “Update” button.
Contact the author
The author of this template will gladly accept hiring in case you need to personalize this (or some other) template, upgrade it, create additional pages, etc. Also, I offer services that are not related to templates: a building of new websites, redesign, extension and/or adding functionality to existing ones, consultations, analysis of problems on existing websites, etc. I will do my best to fulfill your requests.
I’m Obren Markov, a senior WordPress developer, a qualified and university-educated IT professional accepted in Envato/ThemeForest as an Elementor template author and also in the Elementor Expert community.
I work directly for end users, but also for agencies and independent designers, complementing them in their projects.