Thank you for choosing the Choco Concept integrated Elementor kit!
Thank you very much for trusting me and for choosing the Choco Concept integrated Elementor template kit as the basis for creating your website. Providing my customers with the best service has always been my first priority. So if you have any questions after reading this file, feel free to contact me.
In this case, it is an integrated set of templates, which means that its installation not only gives the appearance of a single page but also includes the complete demo content of the website in the package.
Integrated Elementor template kits are a new feature provided by Elementor Pro, which is still in development. This is also the key reason why this set of templates, which contains many premium features, is free to use. Also, some of the procedures required for installation are not yet fully developed, which means that they need to be done manually. The instructions that follow provide details on this.
This template kit is under the Creative Commons Attribution license (CC-BY). This means that you can use and redistribute it for free, but you must credit me appropriately (text with a link to this website). Thank you in advance for that.
Installation requirements
To use this Template Kit, you need to have WordPress 5.7 or newer, Elementor 3.4 or newer, and Elementor Pro 3.5 or newer installed. You also need to install the WooCommerce plugin(in version 5.7 or newer) before installing the Choco Concept Kit. With the exception of Elementor Pro, no other paid plugins or themes are required. All other required plugins will be installed during the import and activation of this Template kit.
Note: The Choco Concept integrated Elementor kit is made for use on the free WP Hello Elementor (2.4 or newer) theme. Use on other themes is allowed, but may cause layout issues.
PHP
Please make sure the version of the PHP engine on your site is 7.3 or newer.
Please keep it mind that you can meet such issues while installing or setting up your template kit: white screen, demo content fails when importing, and other similar issues. The matter is they are all related to low PHP configuration limits. The solution is to increase the PHP limits. You can do this on your own, or contact your web host and ask them to increase those limits to a minimum as follows:
Step 4: Import the Choco Concept Elemenor kit (WP Dashboard > Elementor > Tools > Import/Export Kit > Start Import) Instructions on how to do this >>
Step 5: Static pages need to be completed. They need to manually configure (already existing) header and footer templates Instructions on how to do this >>
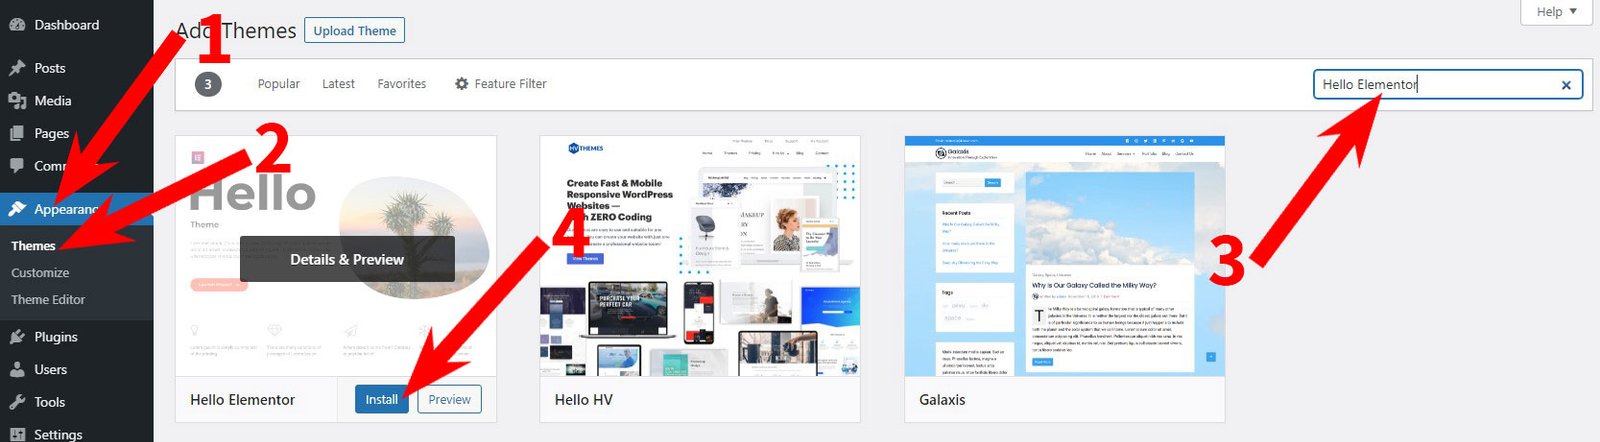
The Template Kit you use is optimized for use with the free Hello Elementor theme, and this theme is highly recommended.
Go to WP Dashboard > Appearance > Theme > Add New, and then search for “Hello Elementor”, you should see the result of this theme. Install and activate the Hello Elementor theme on your WordPress website.
Plugins installation
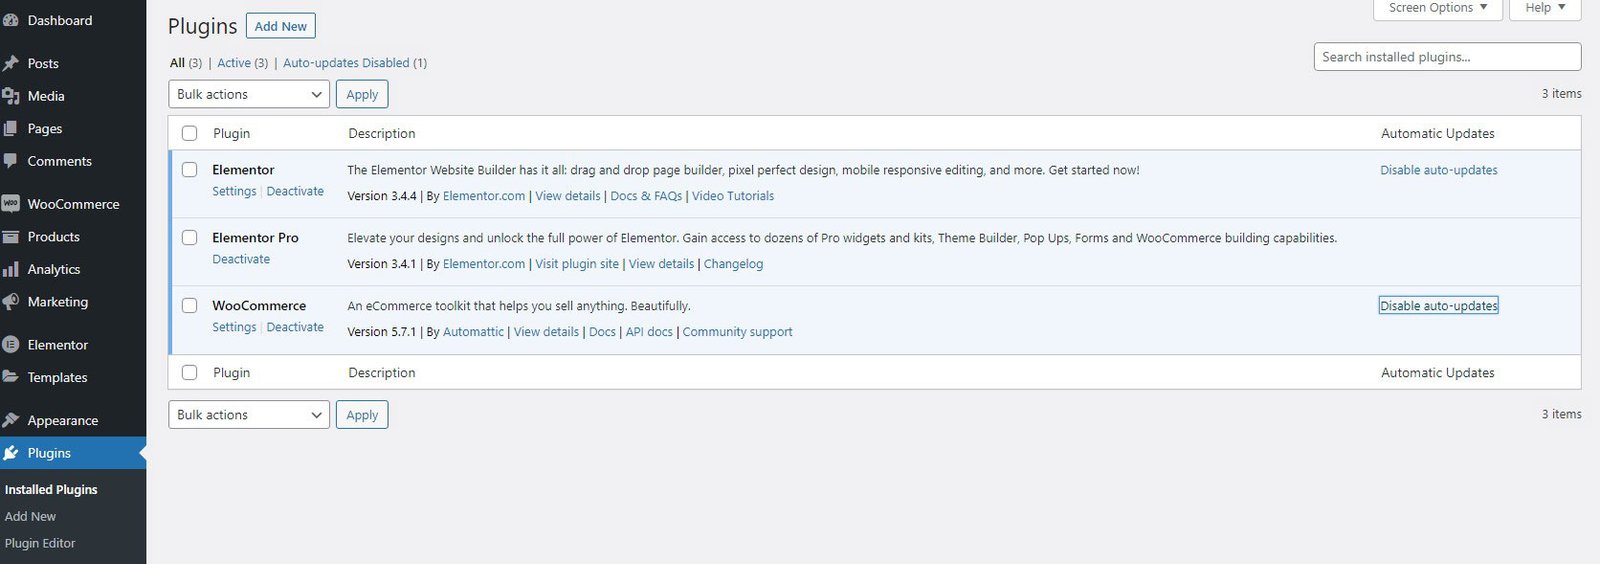
Go to WP Dashboard > Plugins > Add New. Then search for plugins from the list below, click install then activate it.
Recommendation: To make working with WP pages easier and in accordance with the illustrations in this manual, it is recommended that you install and activate the Classic Editor plugin in addition to the above.
Elementor settings
To enable the Elementor Kit to work properly, you must associate basic elements (text, titles, and buttons) with the theme settings that are defined in the “Theme style” option in the Template Kit.
To do this, you need to do the following:
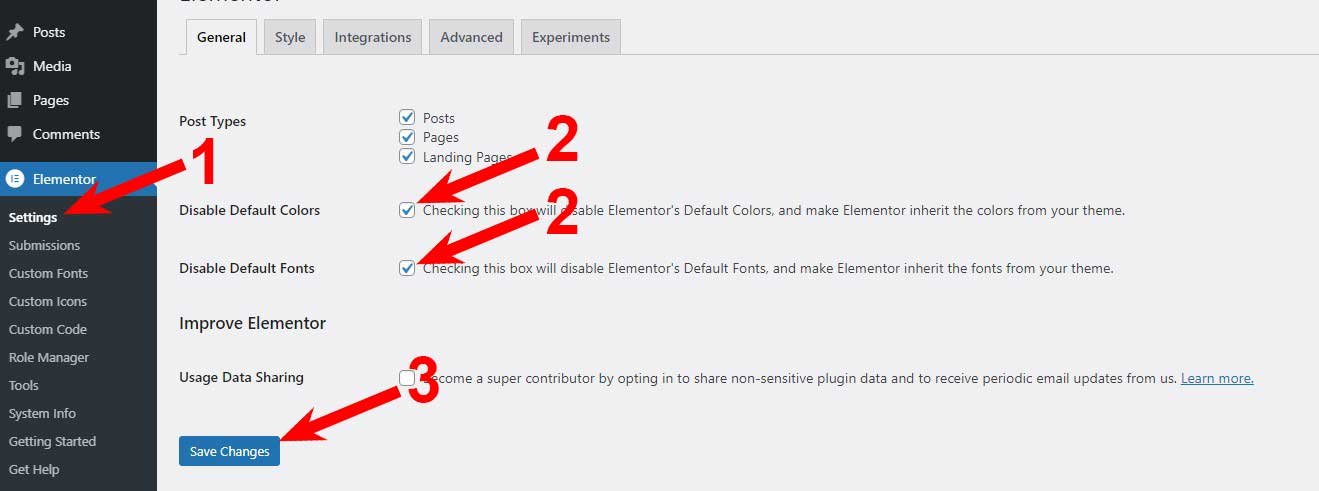
Activate the WP Dashboard > Elementor > Settings screen
Check the “Disable Default Colors” and “Disable Default Fonts” options (if they are not already checked)
Save the changes.
How to import integrated Elementor Kit
The integrated Elementor kit is imported via the built-in Elementor option, which is located at WP Dashboard > Elementor > Tools > Import/Export Kit > Start Import.
Adding a header and footer to static pages in a Choco Concept Elementor kit
After importing the Choco Concept integrated Elementor kit, you need to do a few more things manually, to make your site look like a demo site.
First, you need to manually add a header and footer to static pages (Choco Concept Home Page, About Us, and Contact Us).
What follows should be repeated identically on all three pages listed. An example of one of them will be shown here.
Start by opening the WP dashboard > Pages, hover over the desired page and click on the Edit with Elementor link. If you wish, you can right-click on that link and select the Open link in new taboption.
We’ll add a header first.
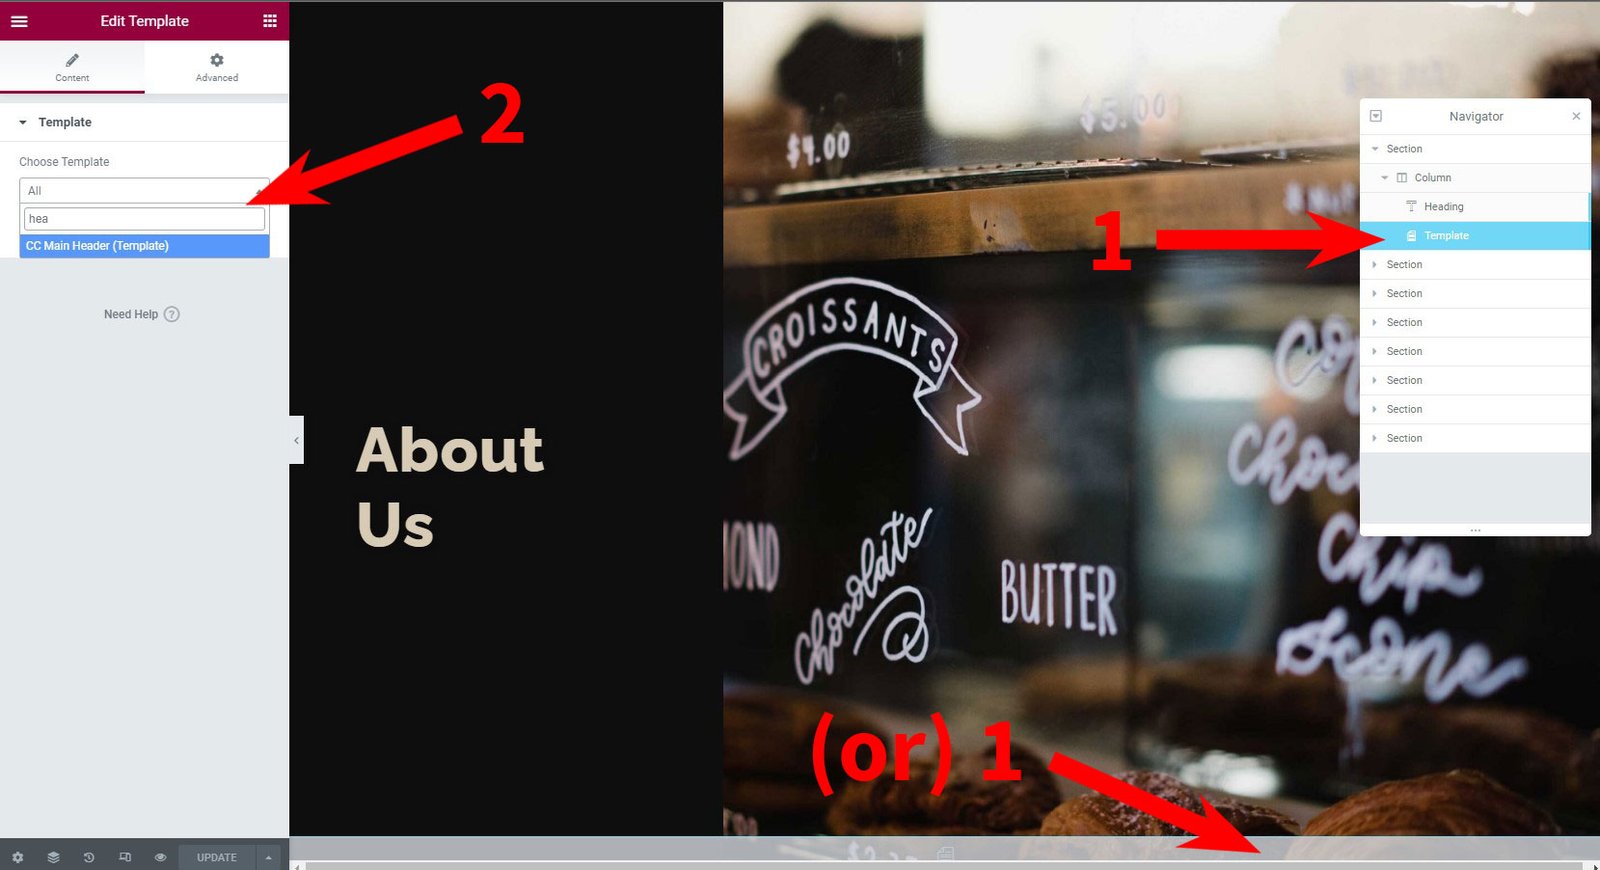
In the first section of the page, locate the Template widget and select it (1). Then, in the Choose template field, select (first type a few letters of the name) the template named CC Main header (2). When you make this selection, the header should appear in the editor. After this, save your work by clicking the Update button (3).
Now you will do the same thing with the footer.
In the last section of the page, locate the Template widget and select it (1). Then, in the Choose template field, select (first type a few letters of the name) the template named CC Main footer (2). When you make this selection, the footer should appear in the editor. After this, save your work by clicking the Update button (3).
Remember that an identical action should be done separately on each of the three static pages.
How to activate the Cart and Checkout pages that come within the integrated Elementor kit
This integrated Elementor kit comes (starting from version 1.2) with customized Cart and Checkout pages. These pages need to be linked to a pre-installed WooCommerce plugin. WooCommerce is a third-party plugin, so it is necessary to check whether the connection was successfully completed during the installation of this Elementor kit.
You need to go to WP dashboard > WooCommerce > Settings and select the Advanced tab.
Then check and if necessary adjust the contents of the Cart page field (select the Choco Cart page) and the Checkout page field (select the Choco Checkout page).
Finally, scroll to the bottom of the screen and click the Save changes button.
Blog page setup
This integrated Elementor kit comes with a template for a blog page that will be activated after you create a blog page in the usual way.
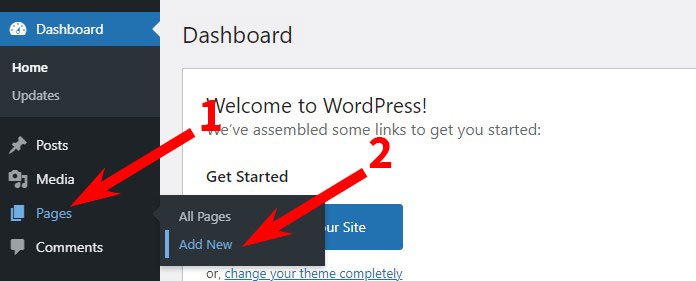
First, you need to go to the WP dashboard > Pages > Add New and create a new, blank page. You can name it at will (for example Blog). Then be sure to save your work by clicking the Publish button.
In the second step, you need to define the newly created blank page as a blog page. You will do this from the WP dashboard > Settings > Reading WordPress option. and create a new, blank page. You can name it at will (for example Blog).
In the Posts page field, select the page you just created. In the Blog pages show at most field, enter, for good display on all screens, a value that is divisible by 2 and 3 at the same time – ie 6 or 12.
Finally, click the Save changes button.
Menus settings
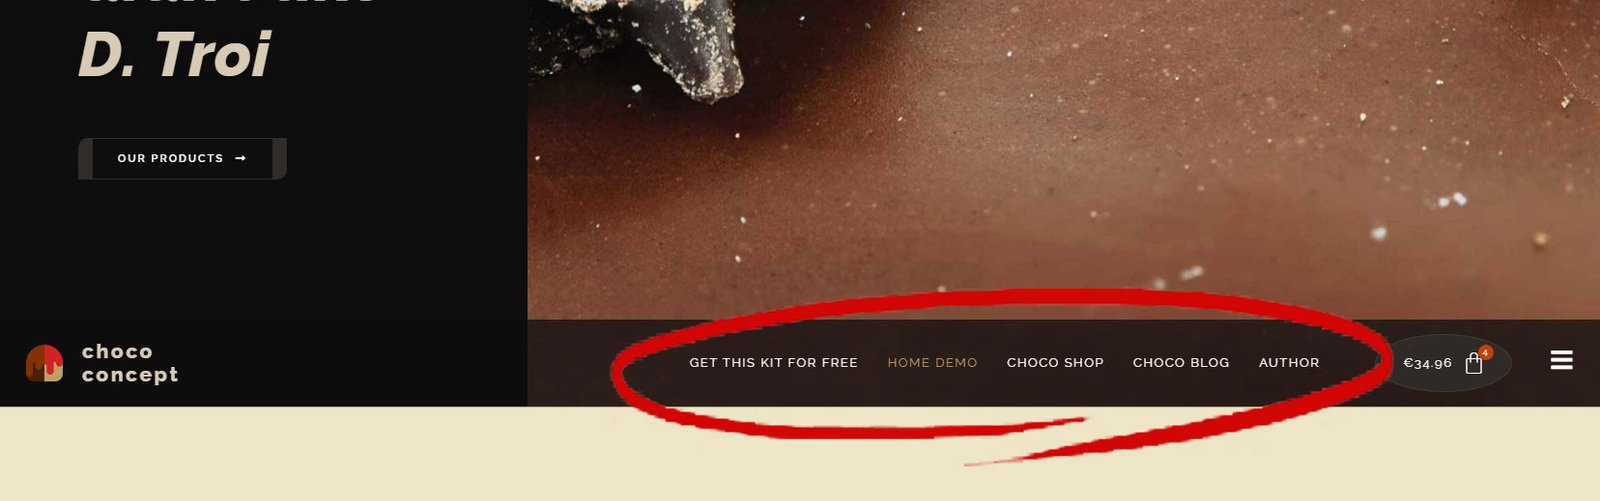
This integrated Elementor kit, unlike most themes, gives a solution with two menus in the header.
One menu is shorter, it should have up to 2-5 items, and it is constantly visible to site visitors – but is only displayed on desktop monitors:
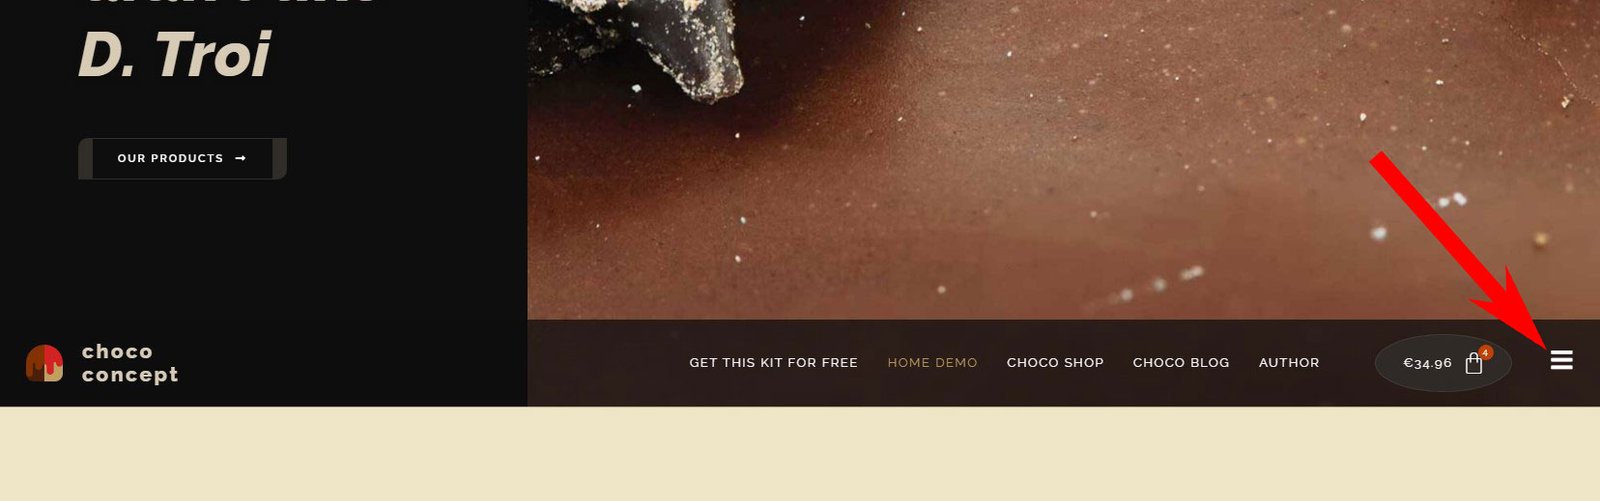
The second menu is activated by clicking on the hamburger icon. This menu is full-screen and it is displayed on screens of all sizes. In the demo version, it looks like this:
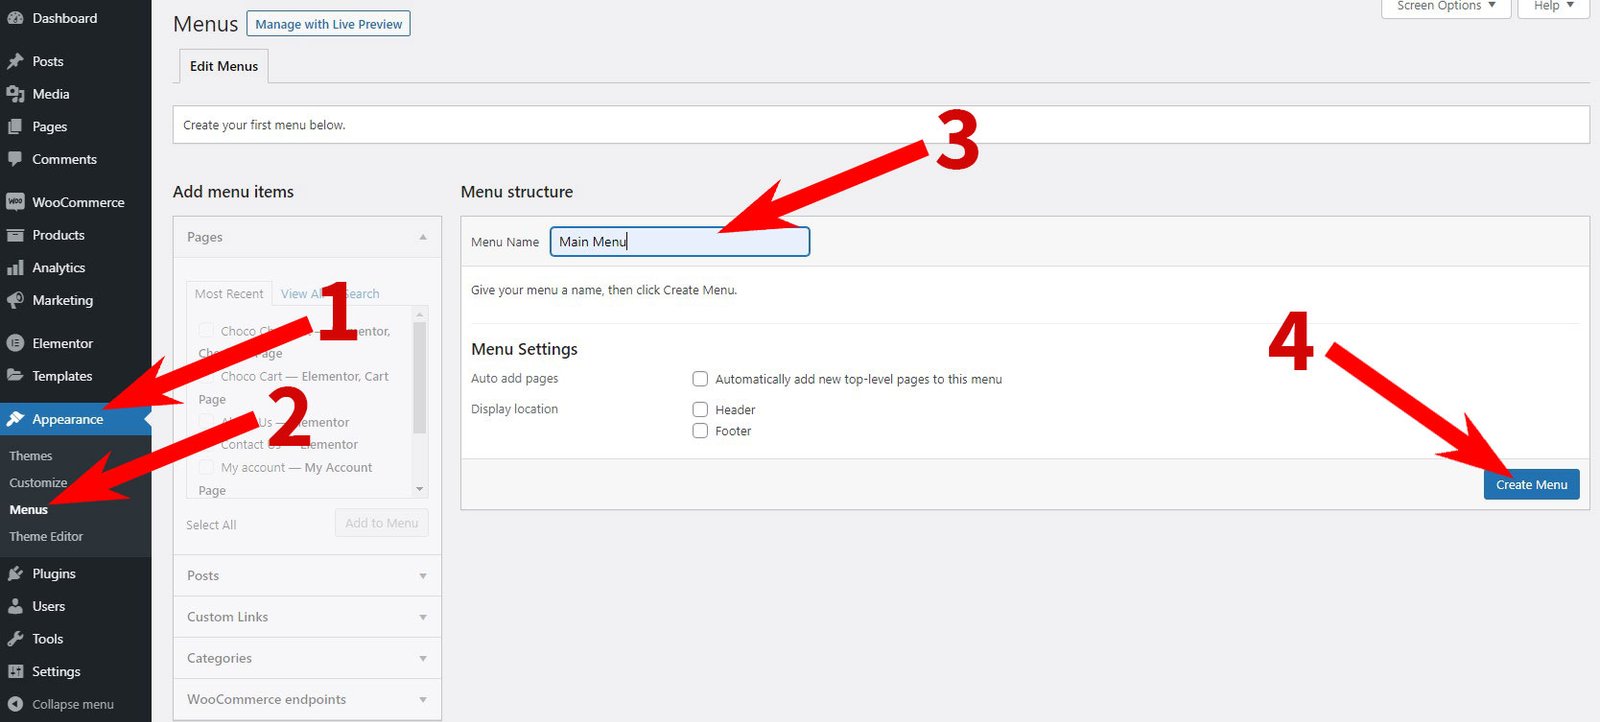
Before you can make menus active on the website, you need to create them. Both menus are created, each separately, in the way and location common in WordPress: WP Dashboard > Appearance > Menus. Enter the name of the new menu (eg Main menu, and for a shorter menu – Short menu) in the field provided, and click the Create Menu button. When the new menu is created, you can enter and arrange links in it at will, in the standard WordPress way.
Before you can make menus active on the website, you need to create them. Both menus are created, each separately, in the way and location common in WordPress: WP Dashboard > Appearance > Menus.Enter the name of the new menu (eg Main menu, and for a shorter menu – Short menu) in the field provided, and click the Create Menu button. When the new menu is created, you can enter and arrange links in it at will, in the standard WordPress way.
Note: this site looks better when all items in both menus are made to be of the same priority, ie without using submenus.
After creating both menus, you need to link them to the Elementor templates.
We will first link a permanently visible, shorter menu. You will put it directly in the header template. Enter the editor as follows: WP Dashboard > Templates (1) > Theme Builder (2) > Header (tab, 3) > CC Main Header (hover your mouse over it, 4) > Edit with Elementor (5)
In the Elementor editor, locate the Nav menu widget (1), in the Content > Menu field (2) assign it the menu you intended for that position (in our example, Short menu) and save the change by clicking the Update button
Now it remains to determine the menu that will be displayed in full screen, by clicking on the hamburger icon.
In the Choco Concept Elementor kit, this menu is displayed using the popup technique. Therefore, select WP Dashboard> Templates (1) > Popups (2), hover your mouse over the CC Full Page Main Menu Popup (3), and click on the Edit with Elementor (4) link.
In the Elementor editor, locate the Nav menu widget (1), in the Content > Menu field (2) assign it the menu you intended for that position (in our example, Main menu) and save the change by clicking the Update button
Lastly, don’t change anything on the next screen – just click on the Save & Close link.
This way, you have created and customized the menus of your future site.
Adjust the appearance of the single product page in Choco Concept kit
The Choco Concept Elementor kit comes with two ready-made templates to display a single product page. You can choose to display product pages with any of them, but also in combination. The choice is up to you, and here is how you will implement it on the website.
You can see the appearance of the predefined Single products pages (Traditional and Hero) in their demo versions:
Whether and in which cases the offered templates will be displayed is determined within the Display Conditions settings of each of the templates separately.
To get to the Display Conditions setting, you first need to activate the Elementor editor of that template you want to set: WP Dashboard > Templates (1) > Theme Builder (2) > Single Product tab (3) then hover your mouse over the selected template and click the Edit with Elementor (4) link.
The template kit you purchased uses an advanced centralized color adjustment method. This means that you can quickly and easily, with a few clicks, change the color of all occurrences of the same type in templates and in pages based on them.
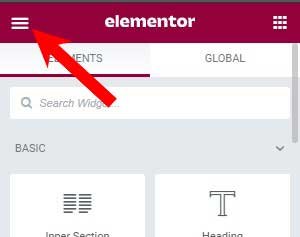
You can do this directly from the Elementor editor. First, click on the burger menu in the upper left corner of the editor. This will open new control bar content, from which you need to select “Site Settings”. Then, you need to select the “Global colors” option.
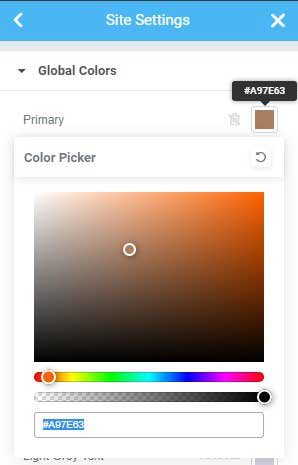
A list of all global colors from the temple kit will be displayed. You can change each of them by clicking on it, and then using Color Picker.
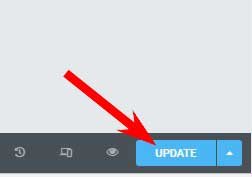
Finally, don’t forget to save the changes by clicking the “Update” button.
Contact the author
The author of this template will gladly accept hiring in case you need to personalize this (or some other) template, upgrade it, create additional pages, etc. Also, I offer services that are not related to templates: a building of new websites, redesign, extension and/or adding functionality to existing ones, consultations, analysis of problems on existing websites, etc. I will do my best to fulfill your requests.
I’m Obren Markov, a senior WordPress developer, a qualified and university-educated IT professional accepted in Envato/ThemeForest as an Elementor template author and also in the Elementor Expert community.
I work directly for end users, but also for agencies and independent designers, complementing them in their projects.