Elementor’s WordPress Menu widget (until recently it was just called “Menu”) allows us to use menus that have already been created within the WordPress dashboard. This is a favorite and frequently used widget that has been an integral part of Elementor Pro for a long time. However, it has a few drawbacks; one of them is the impossibility of separately defining the submenu indicator color, neither in normal nor in :hover state.
Note: To follow this guide, you must have Elementor Pro installed and activated on your WordPress site.
To solve this, it is logical to use custom CSS. Since this is the Elementor Pro version, Advanced > Custom CSS is an available tool. However, this is where new problems arise. The usual detection of the CSS class to act on, using the Inspect/DevTools tool, does not give a good result. It is similar with using some WP plugins, such as Yellow Pencil.
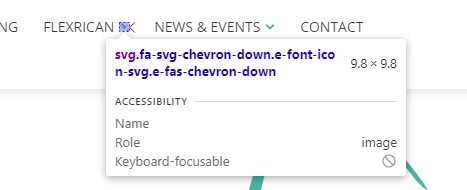
The CSS code obtained in this way will be effective in the Elementor editor – but on the frontend, towards the end users, there will be no results.
Here is a simple solution to this problem.
The base of the custom CSS code to be added is as follows:
selector .has-sub-mmenu .sub-menu, .sub-arrow {
    fill: blue;
}

selector .has-sub-mmenu .sub-menu, .sub-arrow:hover {
    fill: green;
}
In this case, we set the submenu indicator color to blue in the normal state and green in :hover state. You, of course, should put the ones you need instead of these two colors.
This code should be added to the WordPress Menu widget itself, using Advanced > Custom CSS.
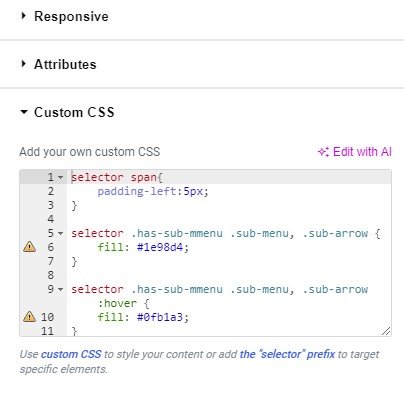
The result works well for both horizontal and vertical menus.


Details about the project for which this customized solution was developed can be found on the blog, in the article FlexRICAN –
Custom types, fields, and taxonomies that make the difference.


